
Understanding Time Lapse Recording
Time lapse recording is a specialized technique that captures sequential images at set intervals over a prolonged period, which are then played back at a faster speed to reveal changes that occur gradually. This method transforms slow-moving phenomena—such as the movement of clouds, the opening of flowers, or the construction of buildings—into captivating visual stories that can be appreciated within seconds or minutes.
The core purpose of time lapse recording is to condense hours, days, or even months into concise clips that highlight transformation, progression, or decay. This process involves taking a series of still images at predetermined intervals. When these images are played back in rapid succession, the perceived passage of time accelerates, providing viewers with insights into processes that are otherwise imperceptible to the naked eye.
High-quality time lapse videos require meticulous planning and precise execution. Selecting appropriate equipment, establishing optimal camera settings, and understanding the environmental context for the shoot are crucial steps that determine the clarity and impact of the final footage. Whether used for artistic projects, documentary storytelling, or event documentation, mastering the fundamental principles of time lapse recording ensures that the resulting videos are both visually compelling and technically sound.
Fundamentally, the technique involves the calibration of multiple variables, including interval timing—the duration between each shot—and exposure settings, to adapt to specific scene conditions. Proper adjustment ensures that images are consistent in brightness, focus, and framing, preventing flickering or abrupt changes that could detract from the viewing experience.
Developments in digital camera technology have significantly simplified time lapse capturing, making it accessible to both professionals and enthusiasts. Dedicated time lapse cameras or adaptable features within standard cameras and smartphones allow for flexible shooting plans. The ability to tailor interval settings, manage battery life, and control other parameters directly influences the quality and storytelling potential of the footage.
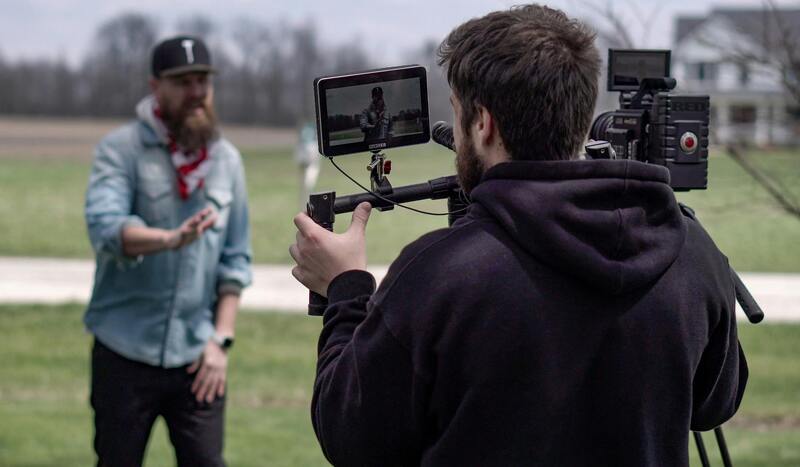
In the process of producing a compelling time lapse video, understanding the intricacies of capturing slow phenomena over lengthy periods forms the foundation. It involves strategic planning of camera placement—considering stability, perspective, and the environment—as well as consistent monitoring for changing conditions that could impact image quality. These considerations collectively contribute to a seamless and mesmerizing final video that effectively narrates the passage of time.
Choosing the Right Camera and Settings for Precise Time Lapse Recording
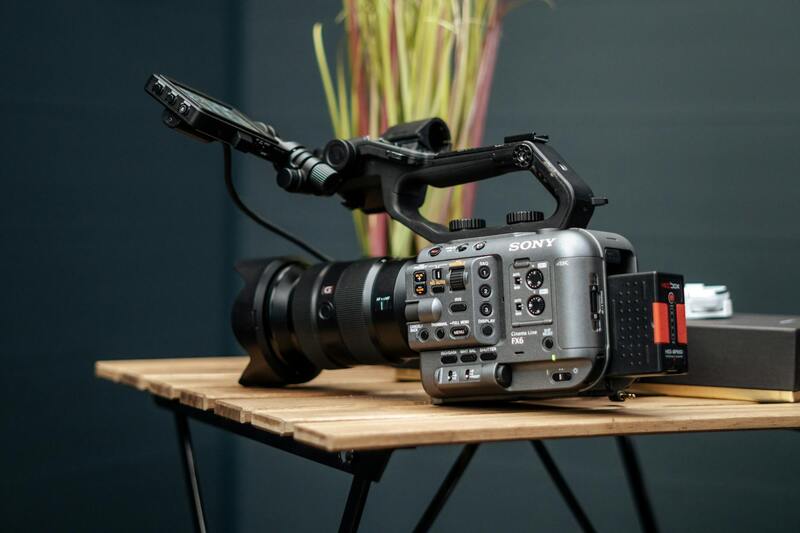
Effective time lapse recording begins with selecting equipment that aligns with your project's goals. While many modern devices, including smartphones, come equipped with dedicated time lapse modes, professional-grade cameras offer greater control over parameters such as exposure, focus, and interval timing. When opting for a camera, consider models with manual settings to fine-tune exposure and focus, ensuring consistency across frames. This is especially important for scenes with varying lighting conditions or dynamic elements.
Adjusting camera settings carefully can significantly enhance the visual quality of your time lapse footage. Key settings include:
- Interval Time: The duration between each shot determines the speed of the final video. Shorter intervals are ideal for capturing rapid changes, such as traffic or moving clouds, while longer intervals suit slow phenomena like plant growth or star trails.
- Exposure Settings: Manually setting the aperture, shutter speed, and ISO helps maintain uniform brightness and prevents flickering. Locking exposure and focus is essential in environments with changing lighting conditions.
- White Balance: Setting a fixed white balance prevents shifts in color temperature that can distract viewers.
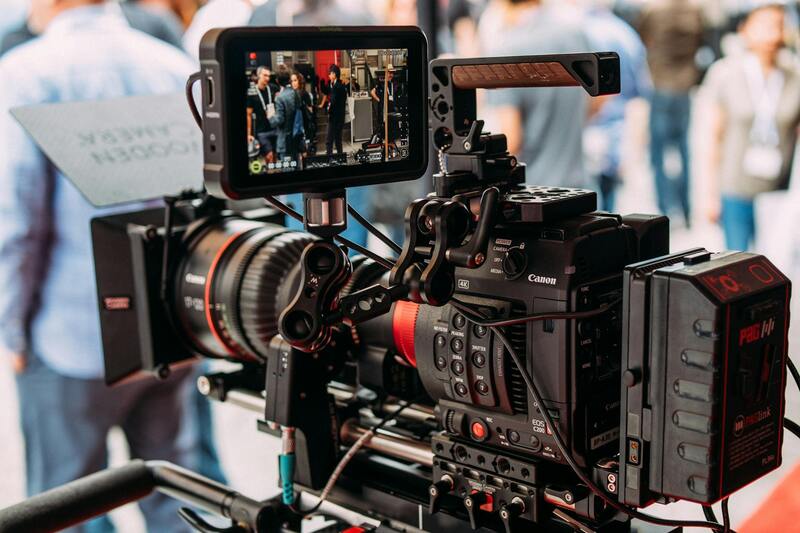
Utilizing intervalometers or camera apps with custom interval functions provides precise control over shot timing. External intervalometers can be attached to DSLR or mirrorless cameras, offering more reliable and consistent shooting capabilities compared to automatic timers.
Optimizing Equipment Setup for Superior Results
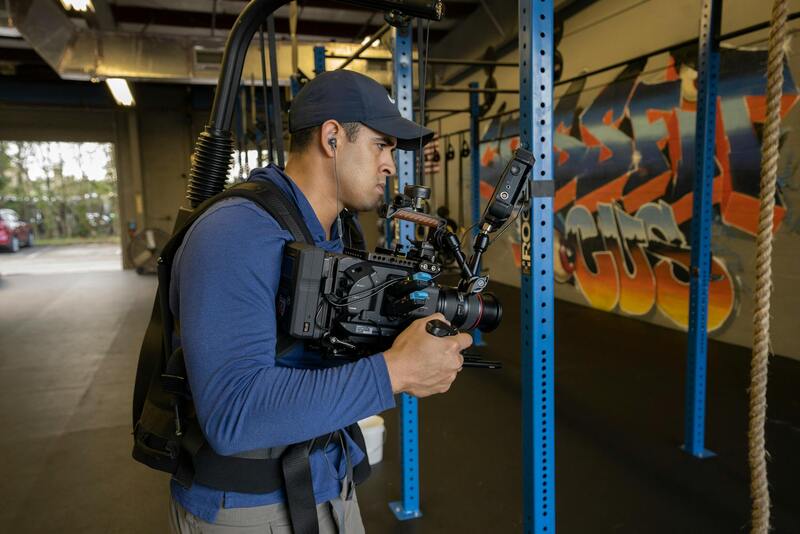
Stability and scene framing are critical for capturing seamless time lapses. Use sturdy tripods or mounts to prevent camera movement, which can cause jitter or misalignment in the footage. Consider the environmental factors such as wind, vibrations, or potential obstructions that might impact the stability or clarity of shots.
For scenes with long shooting durations, manage power sources and memory capacity effectively. External power adapters and high-capacity memory cards ensure uninterrupted recording sessions. Regularly check and calibrate your equipment to adapt to changes in scene conditions, whether it’s shifting sunlight or moving elements within the frame.
Planning for Environmental and Scene Conditions
Understanding the scene's specific demands is vital. For instance, outdoor scenes may require weatherproof gear and consideration of changing light throughout the day. Nighttime or low-light scenes benefit from increased ISO settings or longer exposure times, but these must be balanced against noise levels.
Previsualizing the sequence, including ideal framing and timing, allows you to anticipate potential issues and plan for adaptive adjustments. Regular check-ins during long shoots help maintain image consistency and prevent issues such as focus drift or exposure fluctuation.
Ultimately, the key to captivating time lapse recordings lies in meticulous equipment choices, thoughtful setting adjustments, and proactive scene management. These components collectively contribute to footage that vividly narrates the passage of time while maintaining aesthetic quality and technical integrity.
Application of Time Lapse Recording in Various Fields
Time lapse recording serves a multitude of purposes across diverse industries and interests. Its ability to visually condense extended periods into a short, engaging sequence makes it a powerful tool for documentation, presentation, and artistic expression. Professionals utilize time lapse recordings to track environmental changes, monitor construction progress, or showcase the dynamic aspects of natural phenomena.
In the realm of environmental research, time lapse footage provides invaluable insights into ecological transformations, seasonal variations, and the impact of climate fluctuations. For instance, capturing the blooming of a desert flower or the melting of ice caps over months can lead to meaningful observations and data collection.
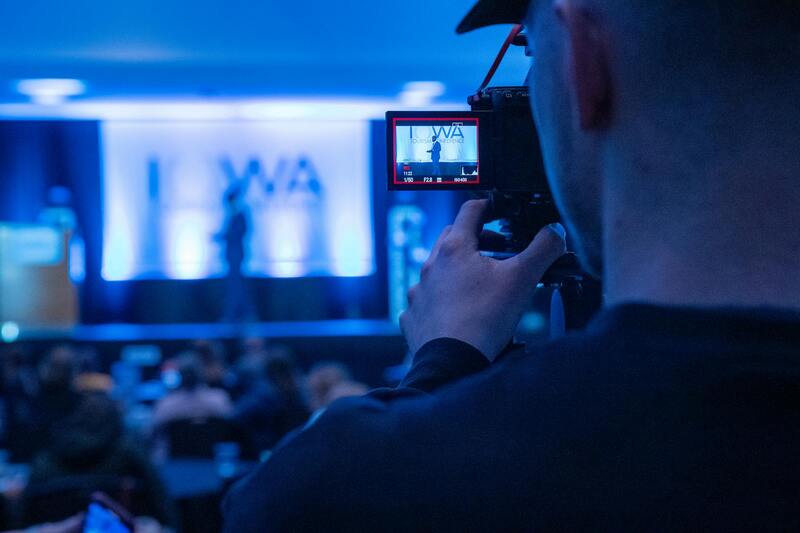
Event videographers and content creators leverage this technology to produce compelling visual stories of festivals, weddings, and corporate gatherings. Time lapse sequences can efficiently illustrate the buildup of an event, the movement of crowds, or the transformation of a venue throughout a day or night.
Urban development and architecture projects benefit greatly from time lapse documentation. Developers and city planners employ this method to demonstrate construction phases, assess workflow efficiency, and highlight infrastructural advancements for stakeholders or promotional material. This visual evidence aids in transparent project management and public engagement.
Artistic pursuits also find appeal in time lapse creation. Photographers and videographers experiment with this technique to explore motion, light, and color in innovative ways. When properly executed, time lapse footage offers a mesmerizing glimpse into the passage of time that can evoke emotions and provoke reflection.
Educational institutions utilize time lapses for teaching and demonstration purposes. Whether illustrating biological processes — such as plant growth — or engineering concepts, these recordings make complex subjects accessible and engaging for students. Furthermore, scientists employ advanced time lapse setups in laboratories to observe slow, minute changes in experiments or materials under various conditions.
Overall, the application of time lapse recording is vast and adaptable, providing clarity and impact to various fields. Its capacity to compile long durations into visually appealing narratives makes it an indispensable technique for professionals aiming to communicate change effectively and artistically.
Choosing the Right Camera and Settings
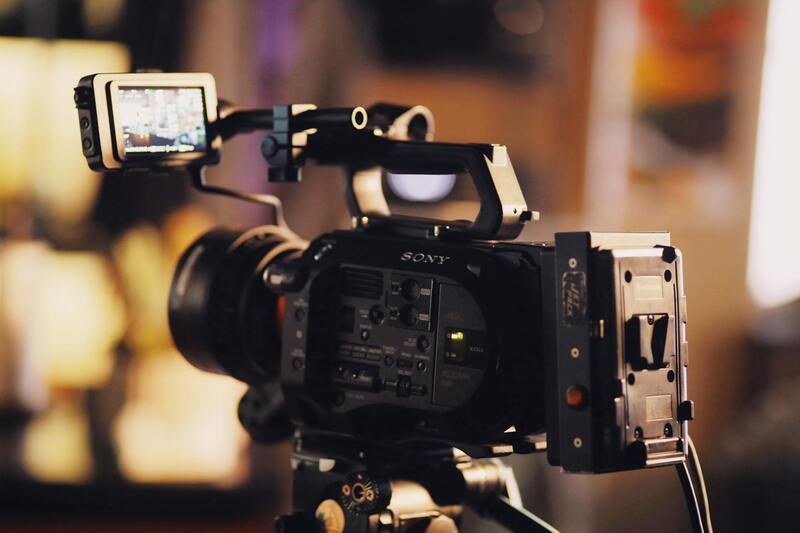
For producing high-quality time lapse recordings, selecting the appropriate camera is crucial. Professional-grade cameras often offer advanced intervalometers and manual control over exposure, focus, and white balance, ensuring consistent footage throughout the recording process. When choosing a camera, consider factors such as resolution, sensor size, and stability features, as these impact the clarity and smoothness of the final video.
Setting the correct parameters ensures the footage accurately reflects the passage of time. Key settings include:
- Interval Timing: Determines how frequently the camera captures frames. Fine-tuning this based on the scene's dynamics—faster intervals for rapid changes like traffic flow, and longer ones for slow processes such as plant growth—is essential for effective storytelling.
- Resolution and Frame Rate: High resolution preserves detail, particularly important when enlarging footage or projecting on larger screens. The frame rate for playback typically remains at 24 or 30 fps, but capturing at higher frame rates can provide greater flexibility in editing.
- Exposure Settings: Manual control over ISO, shutter speed, and aperture prevents unwanted flickering and ensures consistent brightness. For scenes with changing light conditions, consider using auto exposure with careful monitoring or setting exposure to accommodate the most challenging lighting.
- Focus Settings: Manual focus is recommended to prevent focus shifts during recording, which can distract viewers and disrupt the seamless feel of a time lapse.
Capturing a Time Lapse: Step-by-Step Process
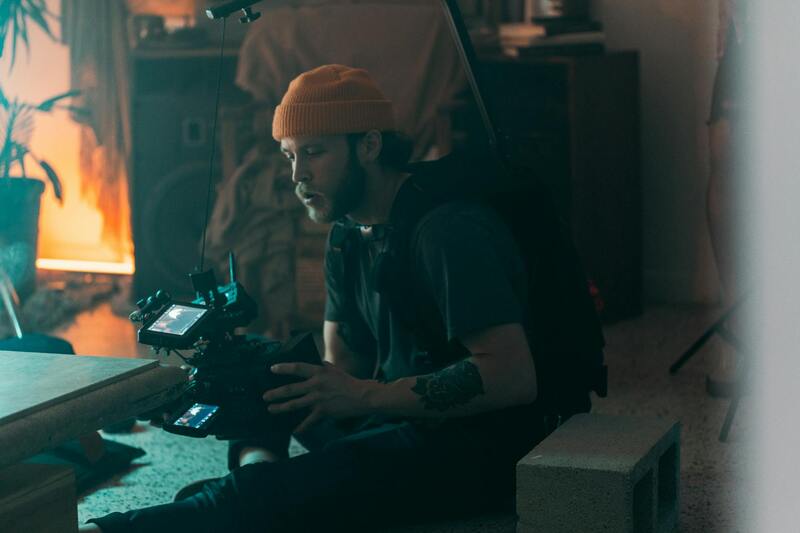
Executing a successful time lapse recording involves careful planning and execution. Start by selecting a stable mounting point such as a tripod or fixed surface to prevent camera shake. Ensure the camera is properly aligned with the scene of interest. Before beginning your recording, test your settings by capturing a short sample to verify exposure, focus, and interval timing.
When ready, initiate the time lapse sequence, keeping the camera as still as possible throughout the recording duration. Monitor the process periodically to ensure there are no interruptions or technical issues. For scenes with changing light conditions, it might be necessary to stop and adjust settings mid-shoot to maintain consistent exposure.
Depending on the scene's dynamics, the total duration can range from a few minutes to several hours or even days. The longer the scene, the more important it is to plan for uninterrupted operation, sufficient power supply, and storage capacity. Using an external power source and high-capacity memory cards can significantly extend shooting periods, ensuring comprehensive coverage of the scene's evolution without gaps.
Advanced Techniques for Ensuring Consistent Results
Achieving a seamless and professional-looking time lapse recording requires attention to advanced techniques that mitigate common issues such as flickering, inconsistent exposure, or shifting framing. One such technique involves utilizing manual settings to gain full control over exposure, focus, and white balance. By locking these parameters, you reduce fluctuations caused by automatic adjustments during the shoot, which can be particularly noticeable in scenes with varying light conditions.
Implementing interval control with precision is also crucial. Many high-end cameras and dedicated intervalometers offer customizable interval timers, allowing the user to set exact durations between shots. This precision is essential when capturing scenes with rapid changes, such as bustling city streets, or slow transformations like a sunset. Additionally, some devices enable adaptive interval settings, which dynamically adjust based on scene activity, optimizing the number of images captured without unnecessary overlap or gaps.
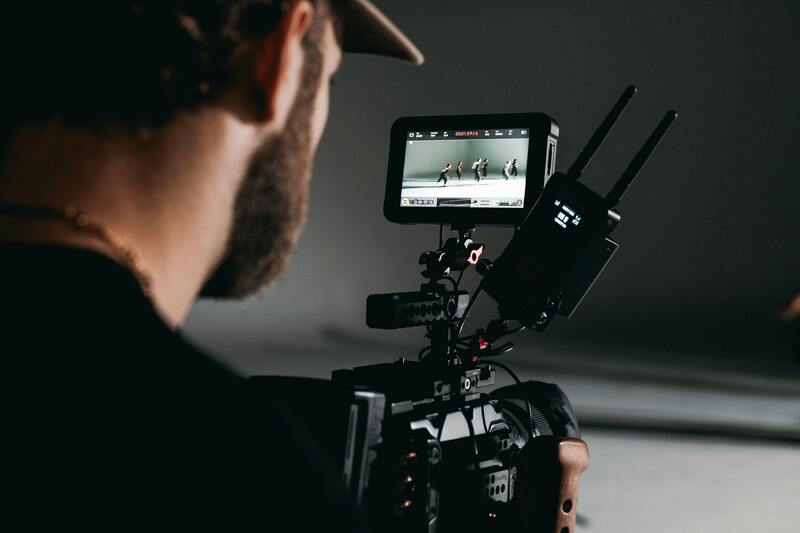
Camera stability remains a cornerstone of professional time lapse recordings. Employing high-quality tripods or motorized sliders with stabilization features can significantly reduce unintended movements. For extended shoots, motorized systems also facilitate smooth camera motion over time, adding cinematic effects like pan or tilt. Calibration of these systems before starting ensures consistent framing and motion paths throughout the duration.
Lighting management is another vital aspect. Scenes with fluctuating natural light may benefit from using neutral density filters or digital exposure bracketing. These tools help maintain consistent exposure, avoiding overly bright or dark frames that can disrupt visual coherence. In environments prone to changing weather or daylight shifts, adjusting camera settings periodically during the shoot can preserve uniformity.
Data management also plays a significant role. Ensuring ample storage capacity and reliable power sources allows for uninterrupted recording sessions, especially for scenes lasting several hours or days. Using external batteries or power adapters combined with high-capacity SD cards prevents data loss and reduces the need for constant monitoring. Regularly checking and maintaining the equipment mid-shoot ensures technical issues are addressed promptly, preserving the integrity of the project.
To prevent framing shifts, performing a quick review of the initial sequence before commencing the full shoot is beneficial. Many cameras offer a way to preview a small segment of the captured sequence, helping identify issues such as slight camera movement or exposure inconsistencies. Correcting these at an early stage reduces the need for extensive editing later. Additionally, employing software that supports frame alignment and flicker reduction during post-processing can dramatically enhance the final output quality.
Post-Processing for Enhanced Time Lapse Quality
Once all images are captured, the editing process offers opportunities to refine and elevate the footage. Key post-processing techniques include stabilizing the sequence, color grading for visual consistency, and removing flickering to ensure fluid motion. Software tools tailored for time lapse videos allow for frame-by-frame adjustments, giving editors control over the final aesthetic. This stage is also suitable for adding transitions, overlays, or text annotations if needed for storytelling or branding purposes.
By meticulously applying these advanced methods during both the capture and editing phases, creators can produce high-impact time lapse videos that stand out for their clarity, smoothness, and visual storytelling power. Whether documenting urban development, natural phenomena, or artistic projects, paying close attention to these details ensures that each frame contributes to a compelling narrative of change over time.
Proper Techniques for Capturing High-Quality Time Lapse Recordings
Achieving exceptional results in time lapse recording hinges on meticulous planning and precise execution. The process involves more than just setting a camera to shoot continuously; it requires a comprehensive understanding of the optimal methods for framing, exposure, stability, and interval settings. To start, it is crucial to determine the scene or subject that best showcases the natural progression or transformation you intend to document. Consider lighting conditions and the pace of change to establish the suitable interval between shots. For instance, for slow-moving scenes such as landscape changes or architectural development, intervals may range from several seconds to minutes. Conversely, fast-moving subjects like bustling city streets or crowds might require shorter intervals to capture fluid motion.
Consistency in camera positioning and settings throughout the shoot is vital to produce a seamless final video. Use a sturdy tripod or camera support system to prevent unintended movement or shaking. Lock focus, exposure, and color settings to maintain uniformity across all frames, which minimizes flickering and exposure fluctuations. Many modern cameras offer exposure bracketing or manual mode, allowing precise control over these parameters. Check that white balance remains fixed unless creative adjustments are desired for artistic effect.
Utilizing External Accessories to Enhance Recording Quality
- Remote Shutter Release: Eliminates vibrations caused by manual button presses, ensuring sharper images.
- Intervalometer: Automates the capture process, allowing for programmed intervals and durations without manual intervention.
- Neutral Density Filters: Facilitate longer exposure times during daytime, enabling smooth motion effects such as flowing water or moving clouds.
- Battery Packs and Power Banks: Ensure extended recording sessions without power interruptions, particularly for lengthy shoots in remote locations.
- Lens Supports or Stabilizers: Provide additional stability, especially when capturing high-resolution images or during prolonged sessions.
Attention to detail during the setup phase lays the groundwork for a successful time lapse project. Regularly review the framing and focus, especially if conditions are prone to change, such as shifting light or weather. Periodic testing with a short segment can reveal issues like exposure shifts or camera drift, enabling adjustments before the full sequence begins. Employing software tools during capture that support focus stacking or frame alignment can help mitigate minor shifts, ensuring the final output is cohesive and visually appealing.
Overall, mastering the technical aspects and leveraging proper equipment are fundamental steps toward capturing compelling time lapse recordings that effectively narrate the passage of time with clarity and precision.
Understanding Time Lapse Recording
Time lapse recording involves capturing a sequence of images at set intervals over a period, then playing them back at a faster speed to illustrate the progression of time. This technique condenses hours, days, or even months into a few seconds or minutes of footage, revealing changes that are often too slow to perceive in real time. Achieving high-quality results requires careful planning, precise camera setup, and appropriate settings that align with the subject’s motion and environmental conditions.
Fundamentally, the process involves configuring a camera to systematically take photos at predetermined intervals. When these images are compiled during post-production, they create a seamless representation of gradual processes—whether it’s the movement of clouds, construction projects, plant growth, or bustling city life. The effectiveness of a time lapse hinges on stable camera positioning, consistent exposure, and proper timing of image capture to maintain visual coherence and narrative flow.
Applications of Time Lapse Recording
- Urban development and construction projects: Show the progress of building sites or infrastructure over weeks or months.
- Nature and landscape documentation: Capture seasonal changes, blooming flowers, or shifting weather patterns.
- Event coverage and festivals: Highlight the dynamics of large gatherings, parades, or concerts.
- Arts and creative projects: Showcase time-consuming processes like painting, sculpting, or assembling products.
- Scientific research: Monitor environmental phenomena such as glacier movements or star trails.
Each application benefits from tailored equipment and settings, ensuring the final video effectively communicates the intended story of time’s passage.
Key Equipment and Setup for Time Lapse
Successful time lapse recording relies heavily on high-quality equipment and meticulous setup. Essential tools include a sturdy tripod to keep the camera steady throughout the shooting process. An intervalometer is crucial for automating the capture process, allowing the photographer to set specific intervals and durations without manual intervention. Neutral density filters are beneficial during daytime shoots, enabling longer exposures that create smoother motion effects in elements like water and clouds.
In addition, having adequate power sources such as rechargeable batteries and external power banks ensures uninterrupted recording sessions, especially during extended projects. Lens supports or stabilizers can further enhance image stability, particularly when capturing high-resolution sequences or light-rich environments. Regularly reviewing the framing and focus during the initial stages of setup prevents issues such as drift or exposure inconsistencies, which can compromise the quality of the final video.

Choosing the Right Camera and Settings
When selecting a camera for time lapse recording, it's vital to prioritize models that offer manual controls for focus, exposure, and white balance. DSLR and mirrorless cameras are preferred due to their advanced capabilities and higher image quality. For those using compact or smartphone devices, ensure they include a dedicated time lapse mode or support external accessories like intervalometers.
Key settings include choosing the interval based on the subject's speed of change; for instance, shorter intervals are suitable for fast-moving scenes, while longer intervals suffice for slow transformations. Manual focus ensures consistent sharpness throughout the sequence, particularly in changing lighting conditions. Opting for RAW image format during capture allows for greater flexibility during editing by preserving maximum image data. Proper exposure settings, such as locking exposure or using a neutral density filter, help prevent flickering caused by fluctuating brightness levels.
Additional Tips for Optimal Results
- Use manual focus to maintain consistent sharpness across all frames.
- Set a fixed white balance to prevent color shifts during the sequence.
- Employ a remote shutter release or intervalometer to minimize camera shake.
- Regularly check the camera's battery life and storage capacity before long shoots.
- Test different interval durations with short sample sequences to identify the optimal timing.
Understanding the Technical Aspects of Time Lapse Recording
Effective time lapse recording hinges on understanding the technical parameters that influence the final output. It begins with comprehending the importance of proper camera settings, which include selecting the appropriate interval between shots, adjusting exposure to prevent flickering, and maintaining focus consistency. Precise control over these settings ensures the smoothness of the sequence and highlights the transformative elements of the scene over time.
Another critical component is stabilization. Since a series of images are captured over an extended period, any camera movement can produce jitter, disrupting the visual flow. Utilizing sturdy tripods or specialized mounts significantly minimizes unwanted motion. Additionally, maintaining consistent white balance across all frames is essential to avoid color shifts that can detract from the visual coherence of the time lapse.
Correctly managing storage and power sources also plays a vital role. High-quality memory cards with ample capacity ensure no frames are lost during lengthy shoots, while reliable power solutions—like spare batteries or external power packs—prevent interruptions. For those aiming for high-resolution results, shooting in RAW format provides extensive post-processing flexibility, allowing adjustments in exposure, color correction, and sharpness without quality loss.
Applying the Right Post-Production Techniques
Post-production editing is where raw image sequences are transformed into compelling time lapse videos. Software tools facilitate tasks such as frame rate adjustment, color grading, and stabilization. It’s often beneficial to crop or crop-lock certain frames to eliminate any residual shakiness, and adjusting the frame rate can influence the perceived speed of the scene—faster for dramatic sequences or slower for detailed observations.
Additionally, noise reduction and sharpening can serve to enhance clarity, especially in low-light conditions. Incorporating music or sound effects can also add emotional depth, but it's essential that the auditory elements complement the visual narrative without overwhelming it.
Effective Storage and Data Management
Proper data management during and after the shoot safeguards your footage. Regular backups onto external drives or cloud storage prevent data loss. It's advisable to organize image sequences with clear, consistent labeling, facilitating a smoother editing process. Using high-quality storage media prevents corruption or slowdown during extensive data transfers.
Advanced Techniques for Professional Results
For experienced videographers, advanced methods can elevate the production value of time lapse projects. Techniques such as multi-point shooting—where overlapping sequences are combined—create panoramic or hyper-lapse effects that add dimension. Employing motion control rigs allows for precise camera movements that follow a predetermined path, delivering cinematic quality.
Incorporating depth-of-field adjustments can add artistic focus points within the scene, emphasizing specific elements while maintaining a blurred background. Combining multiple exposure brackets into high dynamic range (HDR) sequences enhances scenes with varied lighting conditions, ensuring balanced contrast and detail.